The goal of this article is to share how to build a raised vegetable bed. That title sounds like a planned event doesn’t it? The fact is I’ve always wanted to grow veg in my garden, but it was just a thought.
PIN FOR READING LATER
Then one day I got writing, which turned into a list, which turned into me looking at different ways to build a raised vegetable bed on a budget. Due to the fact this was not a planned event, I didn’t even have a budget in place. I was winging it.
But I know me and when I get an idea in my head and it’s written down, I start actioning it. Then it happens or well on the way to getting there. Writing stuff down is amazing and a magical way of manifesting stuff, but more on that in another post.
So yes, I decided I was going to build a raised vegetable bed in my garden and that’s how my now, 3rd-year of veg growing began.
Now I will say up front, that I have a lot of information to share. From the 1st time building my raised vegetable bed to now. As I now grow all year round in a polytunnel. I have been documenting my veg-growing adventures. I didn’t think I would share it but why not take pics and videos as I go along? Sometimes my mind goes off all by itself & I just follow along. I am not a veg grower guru, I’m still learning, when I get stuck, I research, use Youtube or try & think like nature. Meaning nature manages pretty well without human interaction ( look what she did in the 2020 lockdowns) so what would nature do & do it.
So enough info about this section of Veg Garden. I will also share videos where I can as it can sometimes help you get a visual of what I’m talking about.
Below is a video of the whole process I did plus a list of items I used. I didn’t plan to share this so I didn’t do a list of stuff needed in the beginning, sorry for that. The video will help you. I still shared images & instructions to help you along. Combined you will do a great job creating your raised veg bed.
How to Build a Raised Vegetable Bed
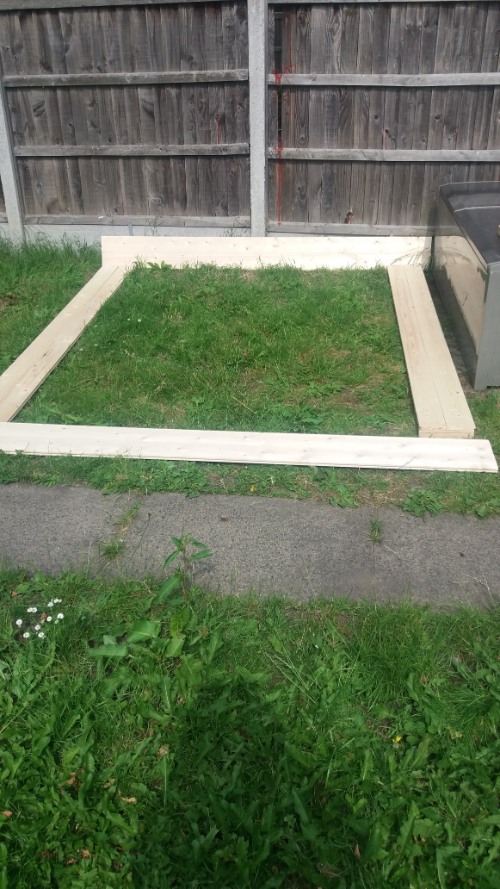
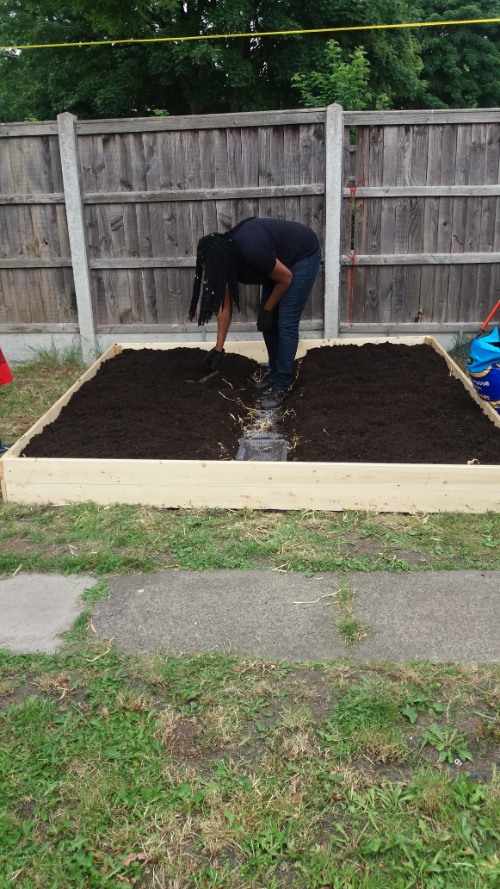
As you can see I worked straight on top of my grass. The way we create the bed will stop the grass from growing. A few blades may grow through but you can easily pull them out.
It starts with wood panels. I bought 8 6ft long panels, 100mm width, and 1 6ft 30mm by 30mm wood for the corners.
Update: as this is like 3 years old at the time of documenting this I now use 2 150mm width wood. With this width, you can just use 4 or double it and use 8 It will cost a bit more as the price goes higher the wider the wood is but works out better. That’s what I use now.
The smaller 6ft by 30mm is your corner posts. Cut them down to the height of your side wood height. Then nail your wooden length into the smaller 6ft by 30mm wood. When complete you will have a square. Watch the video above to see how it looks at this point.
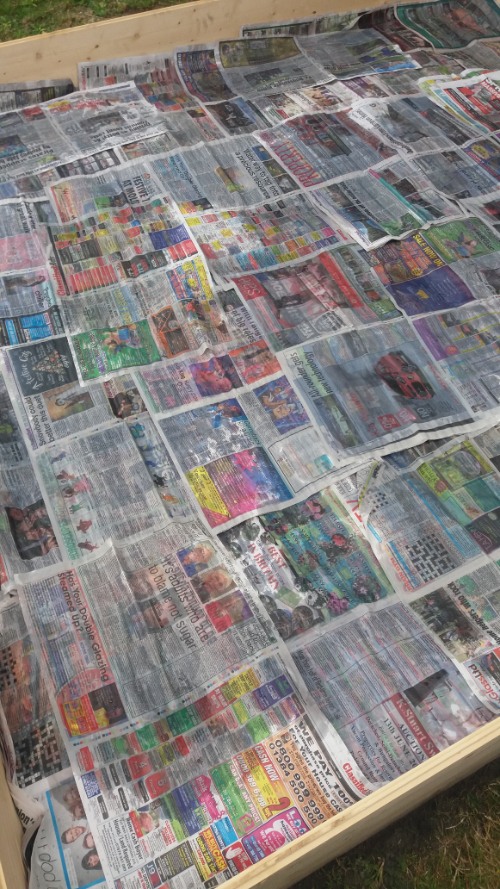
Now lay down the newspaper and cover the whole section. Use 2 – 3 sheets of newspaper at the same time.
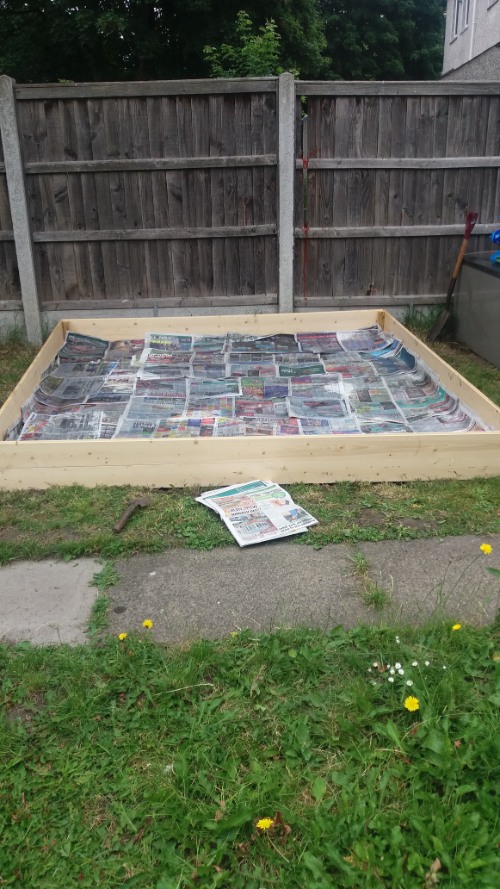
Once the whole area is covered with newspaper, completely soak it all with water. When fully soaked through poke holes in the newspapers.
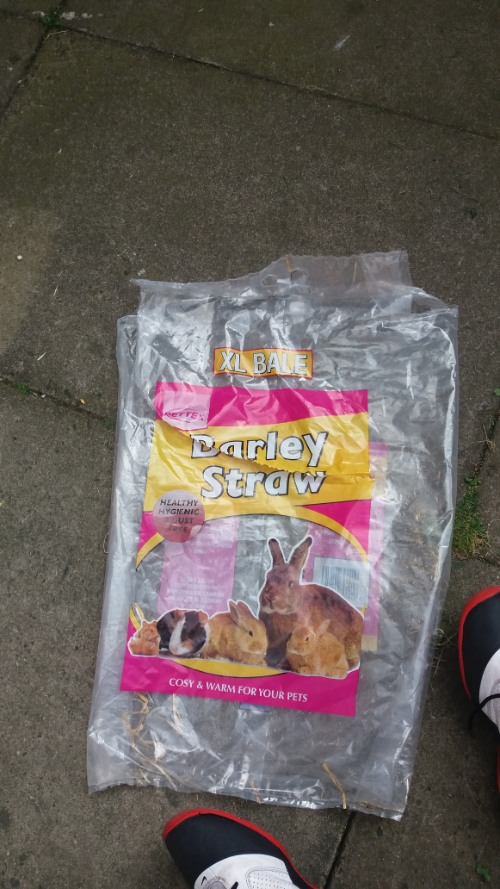
You will now need a straw. You can get this from your local pet shop. I used 3ish bags.
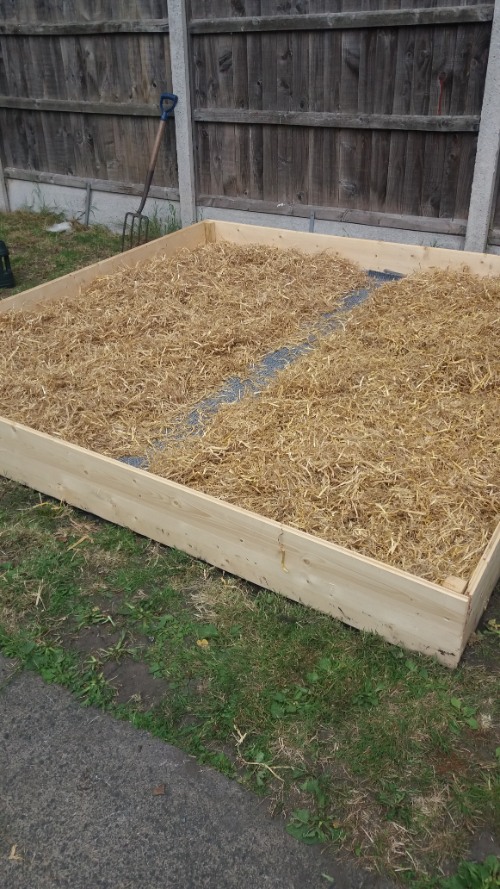
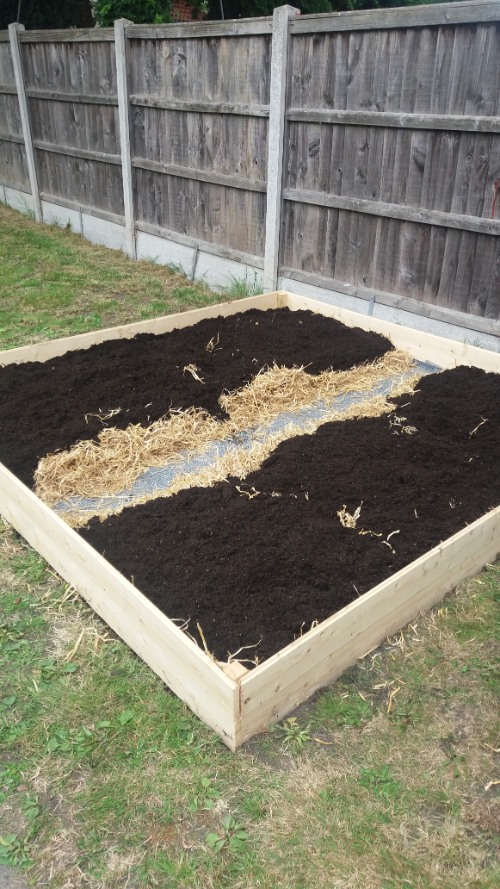
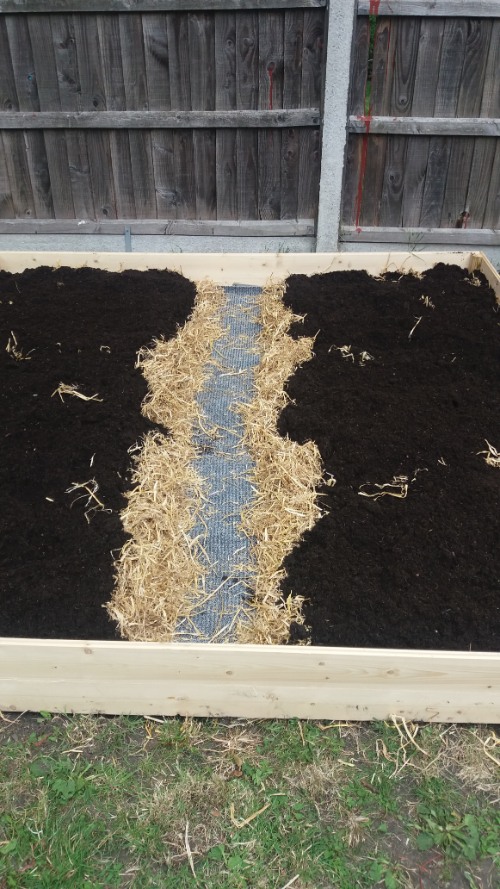
Layout your straw-like in the image below. The gap in the middle is your important walkway. In this space add some old carpet for your walkway. Got no carpet? See if you can get very cheap carpet mats you use at doorways.
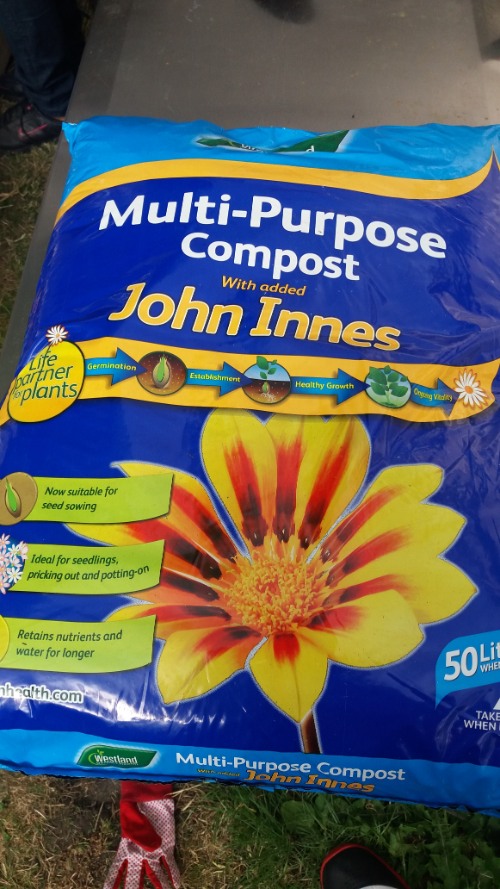
This will be your biggest purchase unless you know someone who is giving it away compost. I brought 8 bags 4 for each side.
Copy the image and share the compost equally on the straw you lay down.
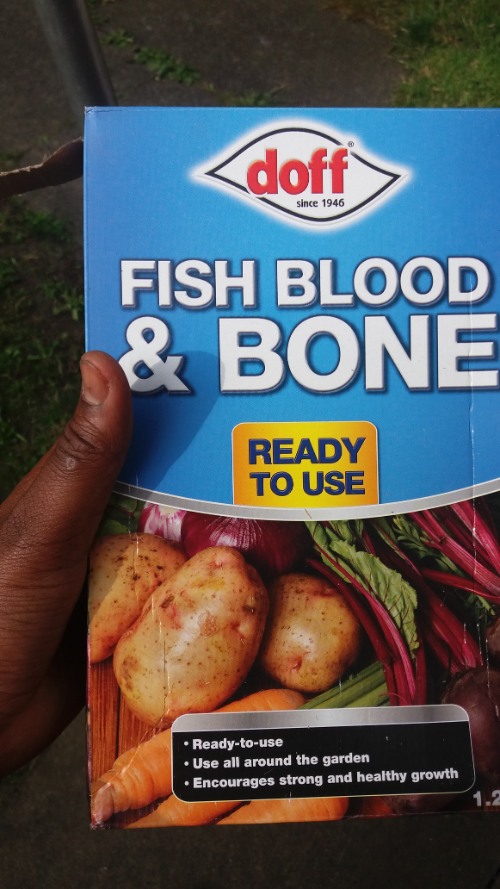
One box worked for me. Cover your mouth and nose when using this. You don’t want to inhale it at all. Also keep your children away when you start using this. You want to make 1 -2 lines on either side in the compost and then pour the fish, blood & bone powder into it. Also, add in the next picture before you start mixing. Hold it to the compost as low as possible to avoid a lot of dust rising up. Then mix in with a spade. When I did it I sprinkled it over the compost but the dust from the powder rose into the air, it was horrible. By creating mini treaches in the compost you control the dust plus it’s easy to mix in. Mix in really well, again do not let the kids help with this part.
3 bags of this was used. In your 1 -2 lines you made in the compost for the fish, blood & bone add the chicken manure. Them mix into the compost.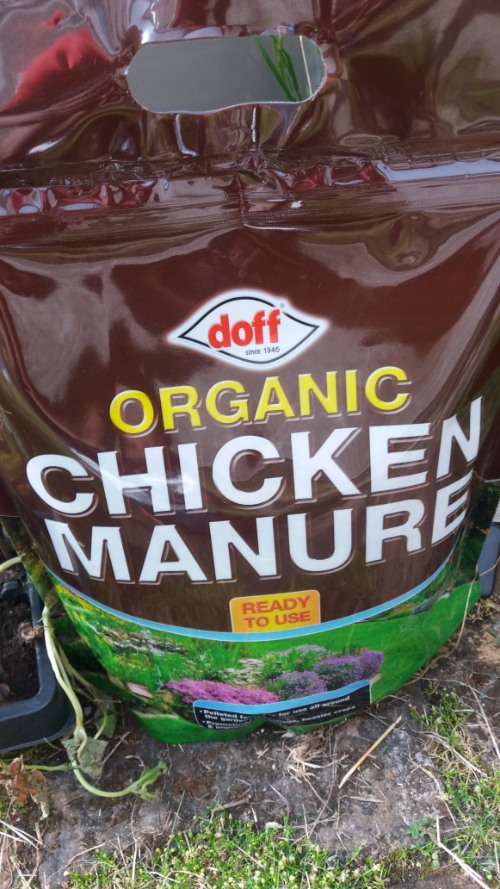
When it’s all mixed in start plant in your seeds. Make sure to use gloves and also your children if you want them to help. What vegetable seeds should I buy first? I hear you ask. I would start with easy vegetables so you can see things happening quickly. So lettuces, beetroot, radish, swiss chard. Also, these won’t need any support to help them grow.
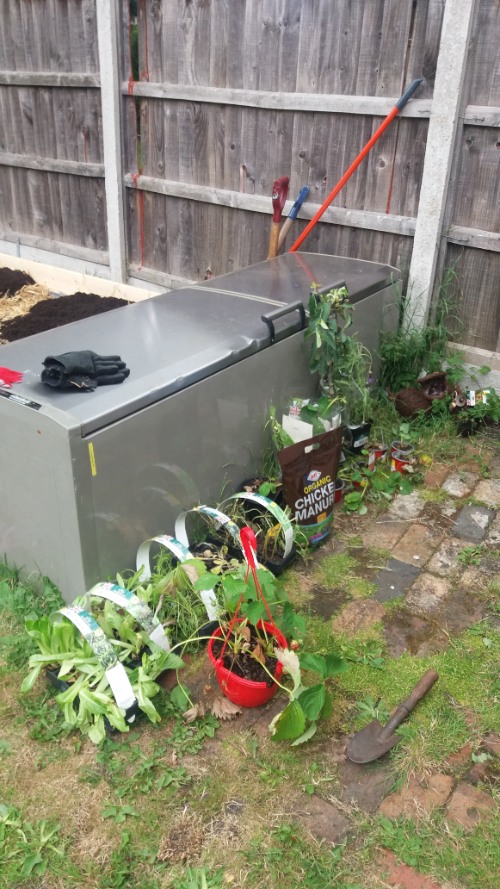
What you see in the picture below are various plug vegetables that I was able to get from places like Morrisons & BnQ. Plug veg is pre-grown veg. I’m a bit frugal, I love to save money where I can or get a great bargain. What you will find is when you see some plants dying they will price them down. As they are in these stores they don’t get watered properly. So they will dry out a lot quicker. When you buy them you will bring them back to life by watering and looking after them.
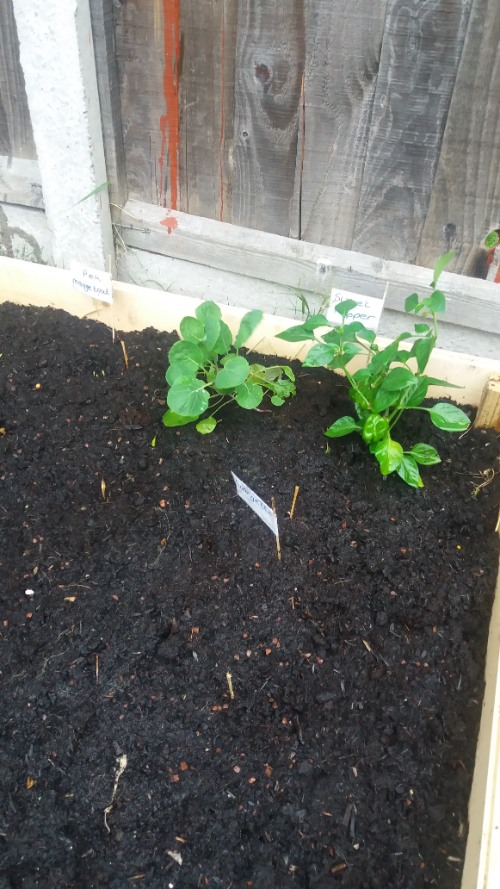
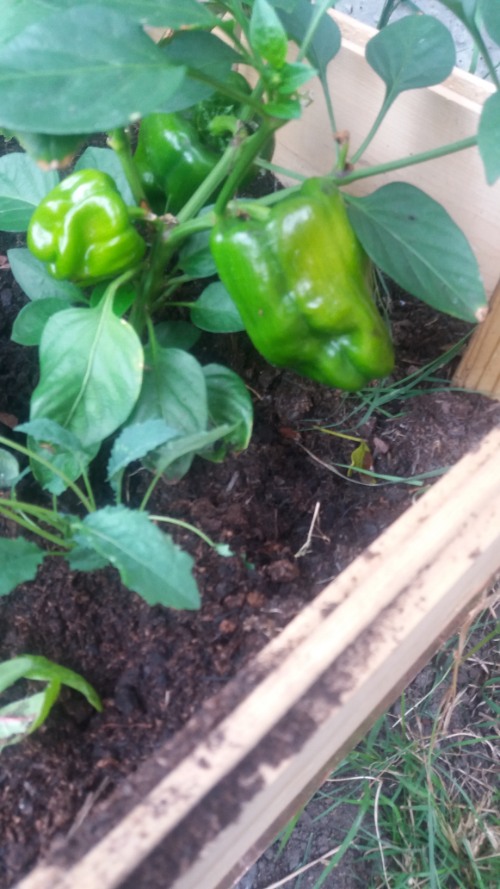
These were the first vegetable plugs I planted, sweet peppers. It felt great to see these 2 veg plants in the raised bed. It kind of made everything real. That’s the benefit of plugs it helps you see something straight away.
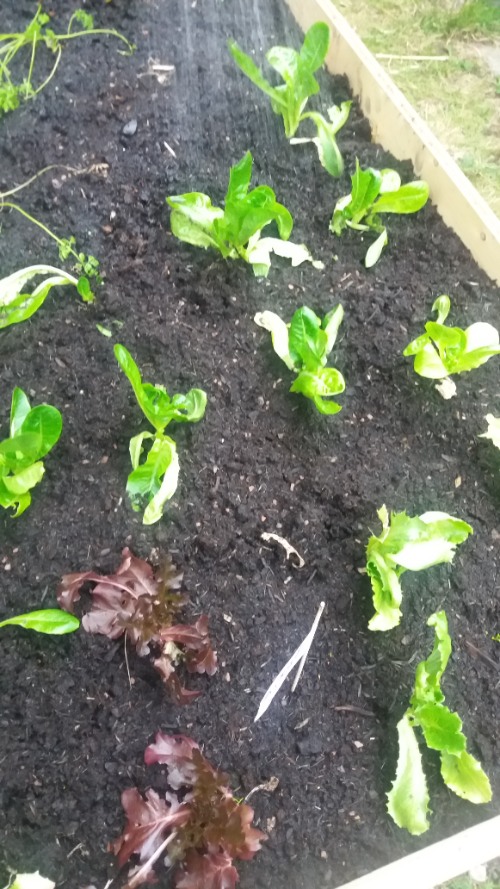
These plugs were lettuce and swiss chard.
Here we have strawberries and carrots
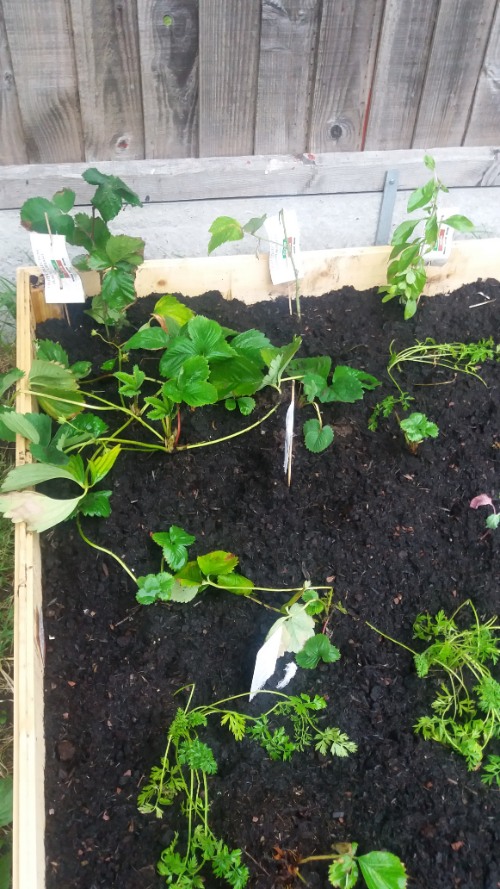
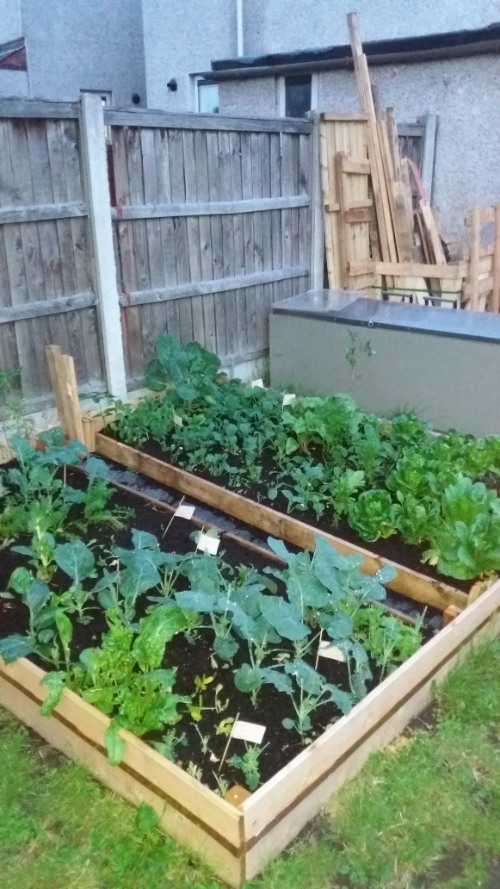
When you start label your vegetables so you know what’s growing and where. Over time you will learn what each vegetable is by looking at the leaves.
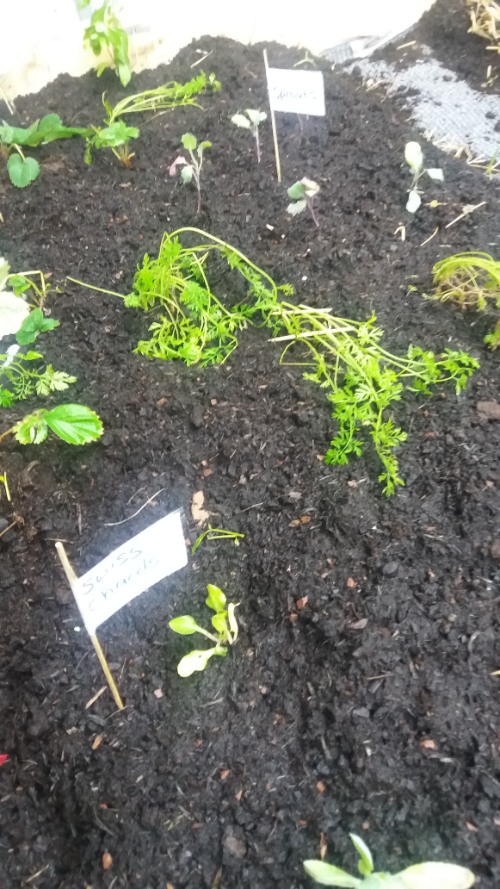
It looks great, doesn’t it? This brings back so many happy memories considering where I’m now.
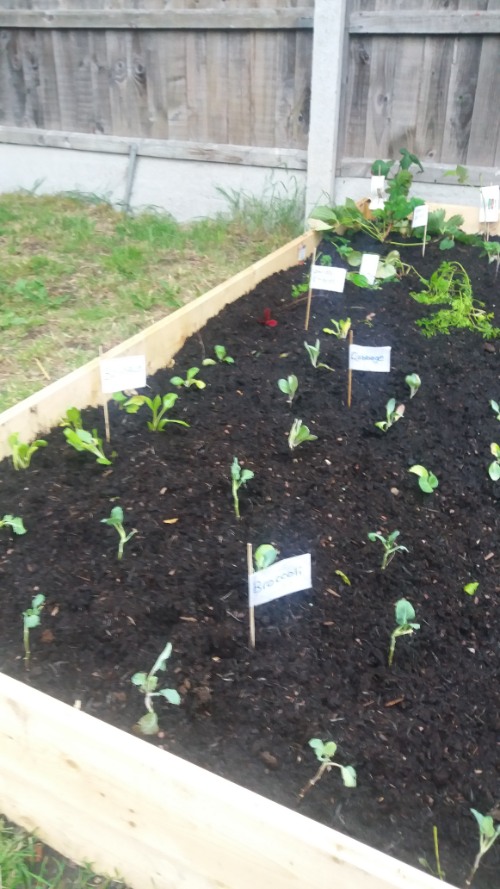
If you have children they will love being a part of the process. Watering is a great job the kids can do. My kids still love watering now.
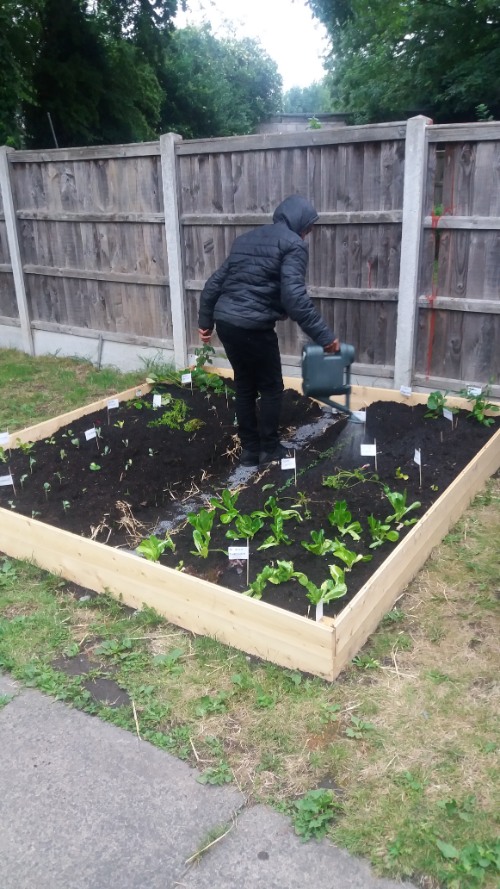
Each day, each week you will see progress. That’s when you feel proud of yourself. You had the idea and now you see your vegetable growing.
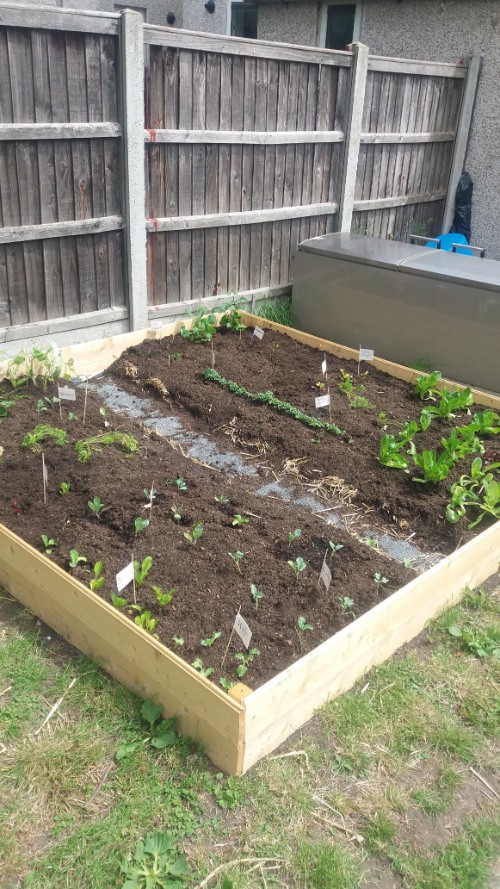
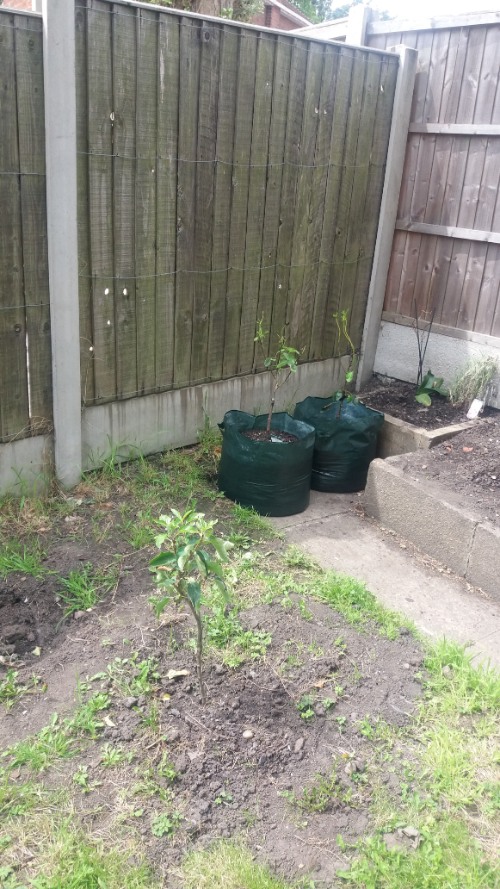
Yeah, I wanted to share what you can buy real cheap from your garden centers. The tree in the ground is an apple fruit. The trees in the green grow bags are raspberry and blackberry. All cost 10p each, yes you read that right. Today (3 years on) I still have the apple tree which bore fruit in the 2nd year.
I didn’t realise how happy seeing veg grows would be to me.
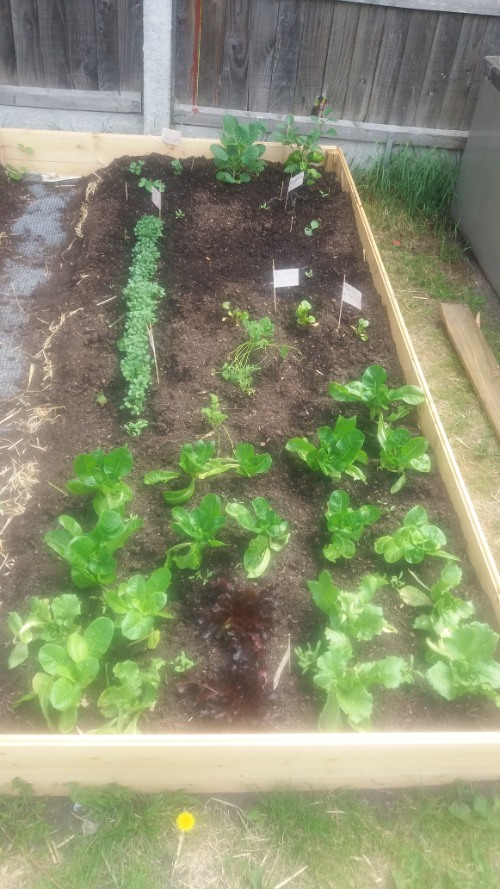
Nature, she’s simply amazing.
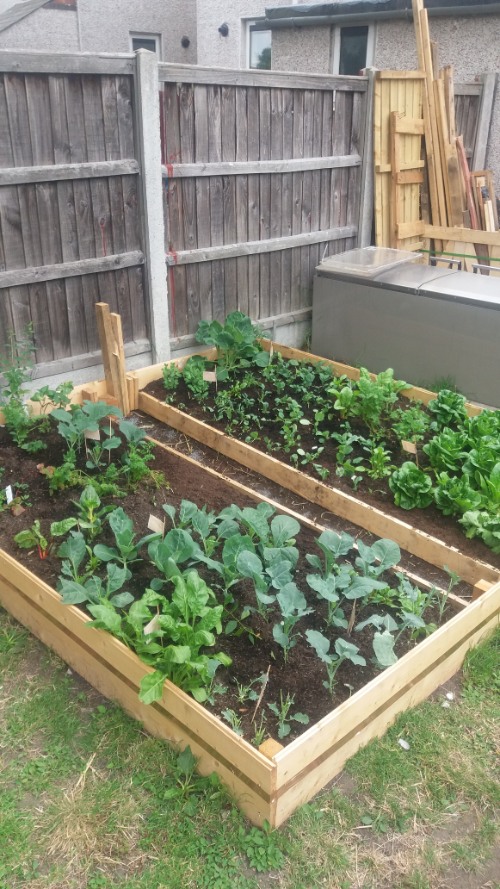
Wow, are you smiling I was and still do.
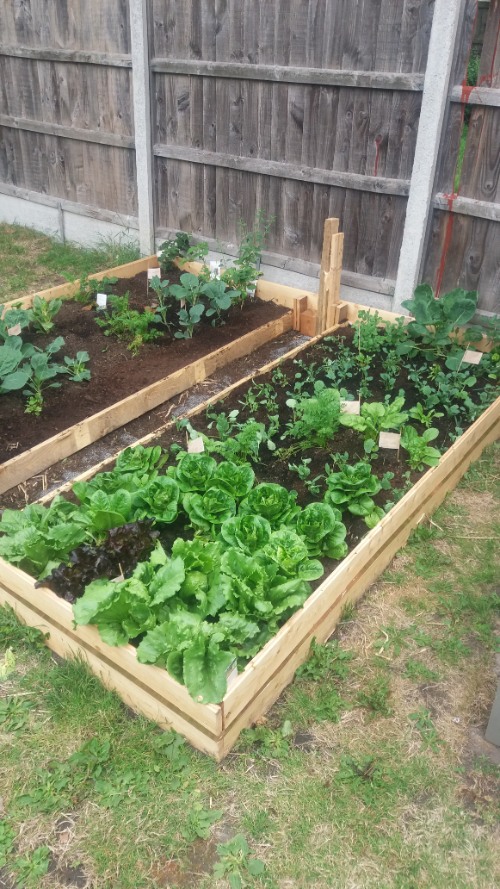
Look sweet peppers, that I planted.
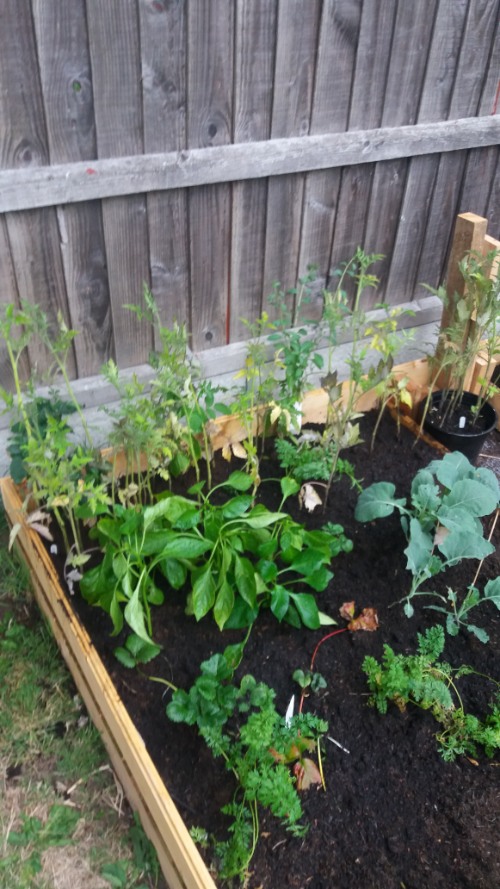
The tall veg you can see in front of the fence were tomatoes.
The best part is eating what you have grown. The kids love picking the lettuce, washing it, and eating it.
Enjoy the process.
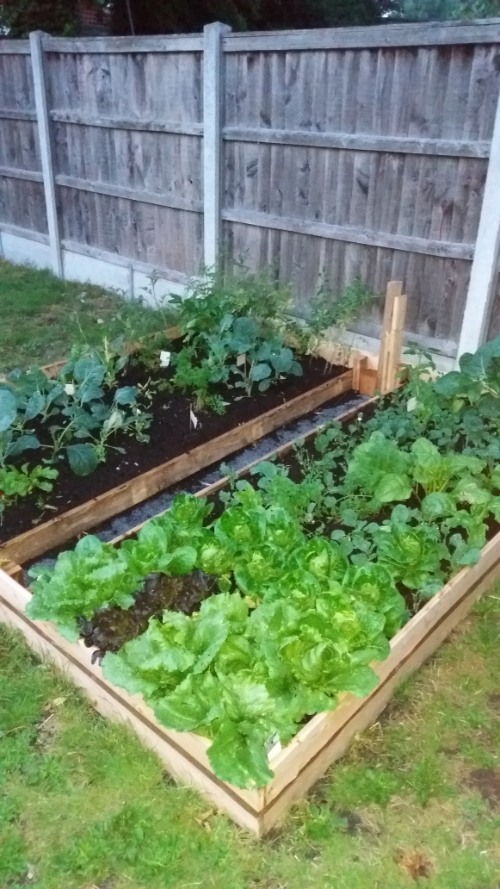
Enjoy the food you grow. It’s ok to not be perfect. It’s ok to make mistakes. I’m still learning 3 years on. It’s about the process and being able to grow your own food to feed your family. Remember there are 4 seasons and you can be growing something in each of them.
In the comment let me know how you get on. Share your experiences, can’t wait to read.